Monday 23 August 2021

Replacing the sink in the Knaus 650

 Our sink developed cracks around the plug hole 2019. (It's a 2014 model). We don't know how this happened. Nothing was dropped in the sink. Bob thinks it is just general movement of the van during travel that caused it to crack.


OLD SINK

OLD SINK


We used duct tape as a temporary fix, and ordered a new sink from Avan.

NEW SINK


We decided to reinforce the new sink with fibreglass before we installed it.

To remove the old sink we had to remove the mirror first. The mirror is held on with double sided tape.

We used a hair dryer to heat the mirror to loosen the glue on the tape. 

Photo shows the wall behind the mirror with the old tape. We left it there, as it would have been messy to peel off. We placed new tape beside the old tape when we put the mirror back.

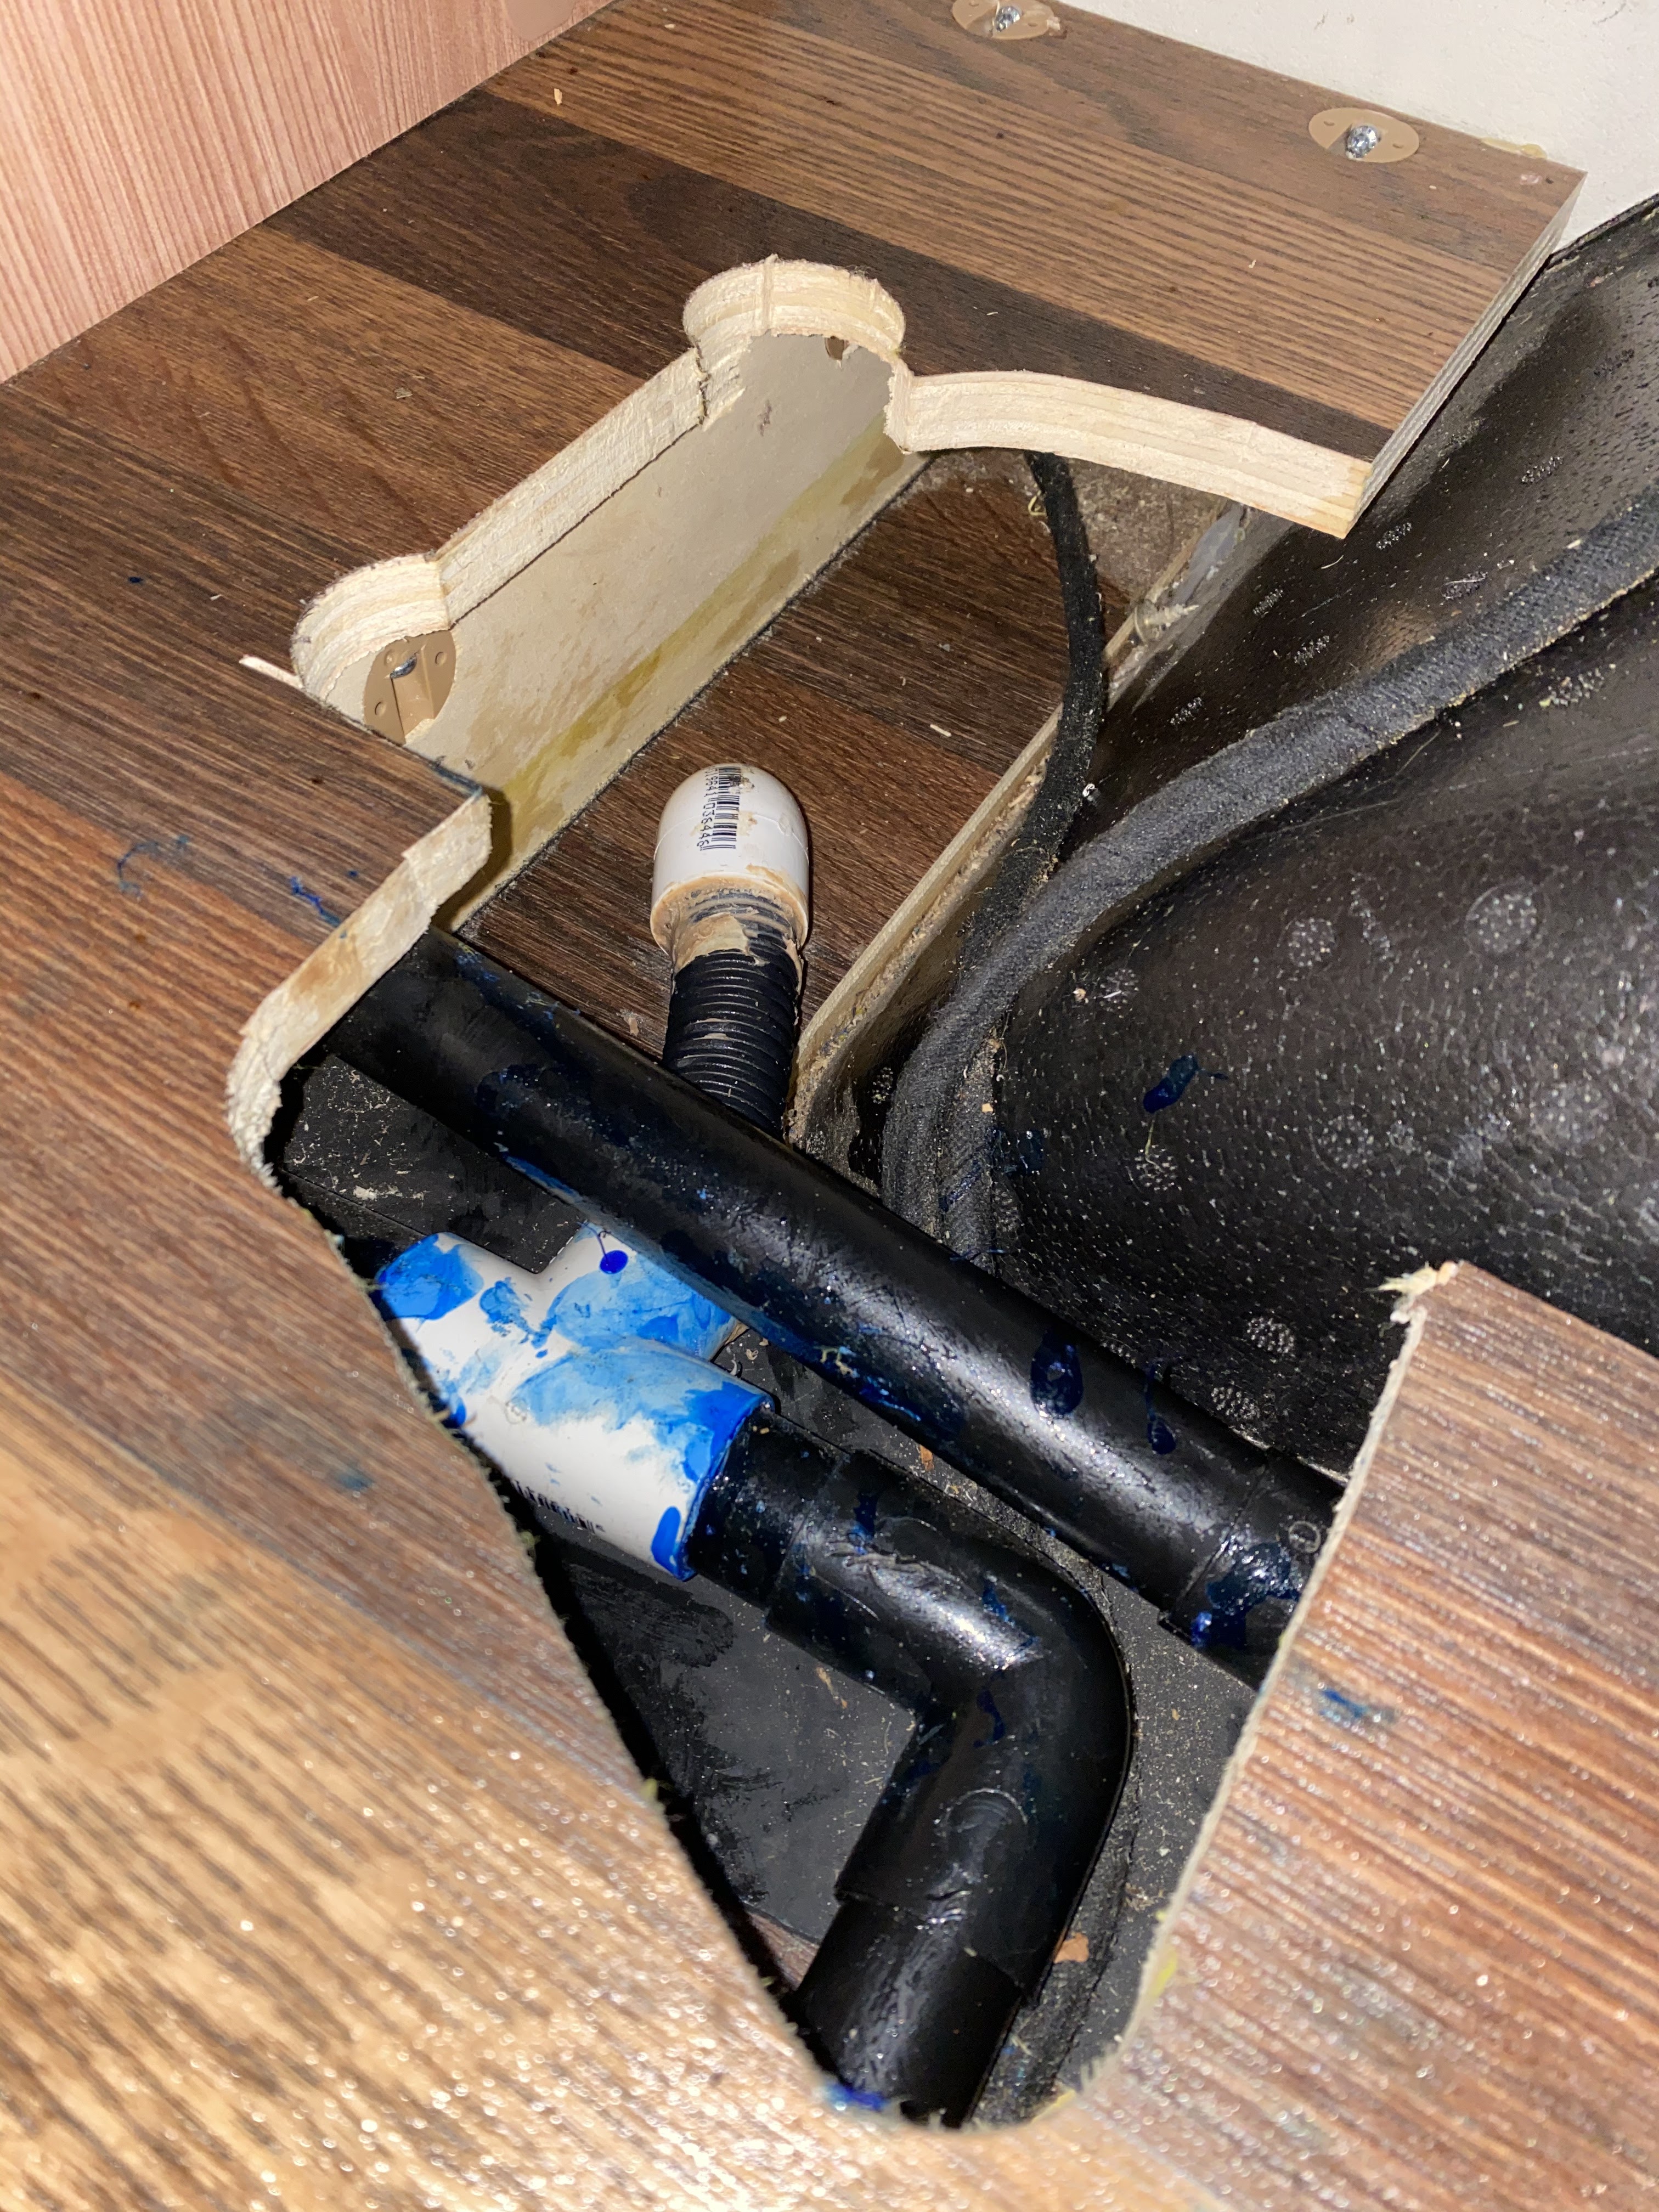
The sink has screws (holding it on behind the mirror) which were easily undone.


We unscrewed the drain grate, and removed the old sink.


We used a silicon gel to seal the edge of the new sink.


We clamped the sink down overnight.


The mirror with the new strips of self adhesive tape, beside the old.


Back of mirror showing tape


New sink in position, mirror back in place.


Silicon on the bottom edge.

No trouble since this was done, in 2019.


Thursday 19 August 2021

Shower Drainage Improvement

When we bought our motorhome we were first timers, and we expected the shower to drain like a house shower. So we were dismayed when the floor filled with water, and the drain seemed blocked from day one!

So we decided to add a quick exit for the water, closer to the back of the unit. We did this in 2015.
But over time, this alteration to the drain pipe from the shower improved drainage about 50%. (OK, but not great.)

We suggest you only try this if you are experienced at DIY plumbing. Bob cannot do much (stroke survivor) so he gave instructions to me, and I was the labourer.
This is not "how to" instructions. It is only "what we did". 
And we don't recommend anyone doing it.

WARNING!!! THERE ARE HIDDEN WIRES ATTACHED UNDER THE FLOOR WHICH NEED TO BE LOCATED FIRST. 
The wires that you see in the photo are not the problem. There are wires attached under the floor, going from front to back, that are not in this photograph. And I can't reach them to take a pic, sorry.


Process: 
We started with small holes in the floor of the 'wardrobe' (Skywave 2014)
then felt underneath to locate the wires before we started to cut out the floor panel.  
We managed to avoid our wires and made a hole big enough to expose the pipes that lead from the basin and the shower to the grey water tank. 

To ascertain which pipe was the shower outlet, we run water in the shower to hear (and feel) it coming through the pipe.

We used a reciprocating saw and hacksaw to cut the pipe. (See diag: A)

Then we added a "T" fitting. (See diag B)
We thought a "T" was necessary here, so that you can still drain into the grey water tank by closing the stop-cock outside the vehicle. 


Blue pipe glue (PVC Cement) was used to seal the joins, and liquid nails used on the flexible hose.


Then a flexible extension was added to the "T" fitting, (C) followed by a 90 degree fitting that went though a hole in the floor. (D)


We continued outside (underneath) by adding a stop cock. 

From there a short garden hose as attached to make it possible to run the shower water into a grey water hose.


As said above, it was half successful. I think that sloping the vehicle down at the front improves the drainage as well. So try that first. (:-o)

Cheers
Shirley


Oops. Where did the years go?

 I've not used this blog for a while (5 years!!) as my social media has been the place that I share my paintings and travels.

But, now is the time to get back to blogging. It is more flexible than Facebook. 

We have not travelled since February 2020, when we did our second Knaus tour of Tasmania. 


Tuesday 15 March 2016

Tasmania Golden Pond

We returned home early March. Had a great trip. I will post photos and paintings here soon. Luckily we had great weather, so I was able to do about 25 paintings. Here is a semi-abstract landscape of a small lake near Launceston. 

Friday 22 January 2016

Inside the Mouse

Welcome to a quick look through our Knaus Motorhome. 


The front seats turn to create a lounge/dining room! In this photo the blinds are closed.


This is the same view, only with seats facing forward, and blinds open. 
The table has a leaf that extends to reach all the sitters.


This seat has storage underneath.


Into the middle section, which is the kitchen. Three burner stove, small prep space. Large sink.


Opposite the sink is a full size fridge with a microwave above, and a cupboard underneath that holds a toaster-oven (bought). The TV is on a swivel arm, just beside the fridge. It can be watched from the front seats, or from the back bed.


The door has a bug screen, concertina style.


Pantry cupboard on left under sink, three soft-close drawers under cooktop.


At the push of a button, a double bed slides down from the ceiling, above the table. 


Turning around to look to the back of the home, we see a "French bed" with the bathroom on the right, behind the sliding door. (Underneath the mattress extends to make it a full rectangle at night.)


Door open on the bathroom. 


Right hand wall has the sink and mirror, and then ...


 Two walls open out and overlap to enclose the loo, 


and the room becomes a shower. 

We'll upload more interior shots as we travel.


Thursday 21 January 2016

Changing a Ducato wheel


I have added a few photos to my FaceBook group page 

Our Mouse


Hello!
We are Shirley and Bob Peters, and we are about to travel in a motorhome. Our first destination will be Tasmania.


We will use this blog to record our trip, and we invite you to visit and see how we're faring.


Bob is a photographer, and we'll be uploading some of his shots here. I am a painter and I'll also upload here, and to my other blog: http://shirleypeters.blogspot.com.au